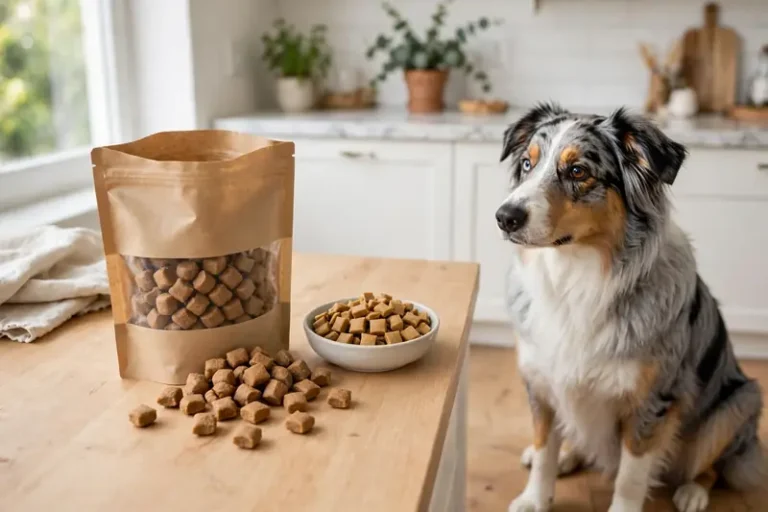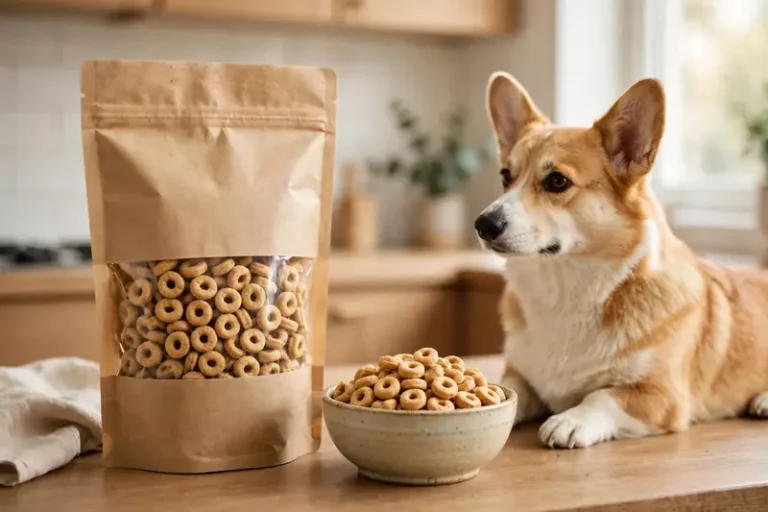
Homemade pumpkin dog treats need exactly three things to be safe: plain pumpkin puree, a short ingredient list you recognize, and an oven set to the right temperature. Everything else is preference. The four recipes below use ingredients from published, dog-tested sources, with exact measurements, baking times, and storage rules. No pumpkin pie filling, no mystery spices, no guesswork.

The first rule: plain pumpkin, never pie filling
The can must say 100% pumpkin, not pumpkin pie filling, or the recipe is unsafe before it starts. Pie filling contains sugar, spices, and sometimes xylitol-adjacent sweeteners, and the spice blend usually includes nutmeg, which causes neurological symptoms in dogs. The cans sit side by side on the shelf and look nearly identical. Read the label every time. Tufts University’s veterinary nutrition resources are a solid reference when you want to check an unfamiliar ingredient.

Here is the complicating detail most recipes skip: canned “100% pumpkin” is often Dickinson squash, a tan-fleshed variety, rather than the orange field pumpkin. That is fine. Dogs do not care about botany, and the nutrition is equivalent. What matters is the ingredient list showing pumpkin and nothing else. PetMD’s pumpkin guide confirms plain canned pumpkin is the practical choice, and the pumpkin benefits guide covers why the fiber helps digestion, and the fiber guide for dogs explains how it steadies things further.
Fresh pumpkin works too, with one condition. Use small pie pumpkins, not the fibrous jack-o-lantern type. Halve them, scoop the seeds, roast cut-side down at 350°F for about 45 minutes until fork-tender, then blend smooth. It takes an hour. The can takes ten seconds. Both end up in the same dough.
Recipe 1: three-ingredient crunchy biscuits
One cup of pumpkin puree, one egg, and two cups of whole wheat flour bake into about 48 crunchy biscuits at 350°F in 20 to 25 minutes. This is the simplest reliable recipe in the pumpkin canon, and the math is transparent: the batch runs about 970 calories by USDA figures, so each of the 48 squares lands near 20 calories.
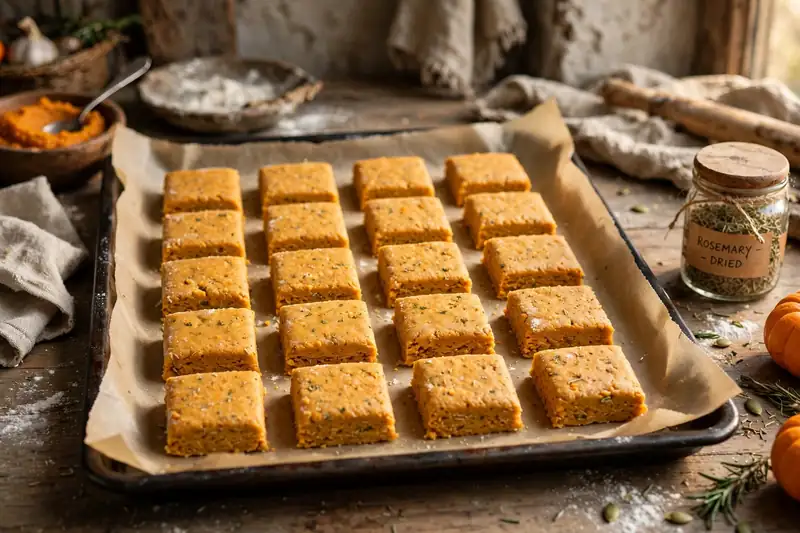
Stir the pumpkin and egg together until no egg streaks remain. The egg binds the dough, and eggs are safe for dogs once cooked. Add the flour half at a time and stop when the dough firms up and pulls away from your fingers. Too sticky means another spoonful of flour; too crumbly means a teaspoon of water. Roll to a quarter inch thick, cut into one-inch squares with a knife (cookie cutters are optional theater), and bake until the edges look dry and the centers feel firm.
For extra crunch, turn the oven off after baking and leave the tray inside for an hour as it cools. The residual heat drives out the last moisture. Dogs that like a snap prefer the dried version; older dogs with worn teeth prefer the standard bake. If your dog cannot eat wheat, oat flour behaves the same way in this dough, and a blender turns rolled oats into oat flour in about a minute.
Recipe 2: pumpkin peanut butter bones
Three-quarters cup pumpkin, half a cup of xylitol-free peanut butter, one egg, and two cups of flour bake at 375°F for 20 to 25 minutes into classic bone-shaped biscuits. Peanut butter is the flavor upgrade that turns a good biscuit into the treat dogs mob the kitchen for. The recipe comes from Whole Dog Journal’s tested pumpkin collection, and it scales cleanly: double everything for a big batch, keep the same time and temperature.
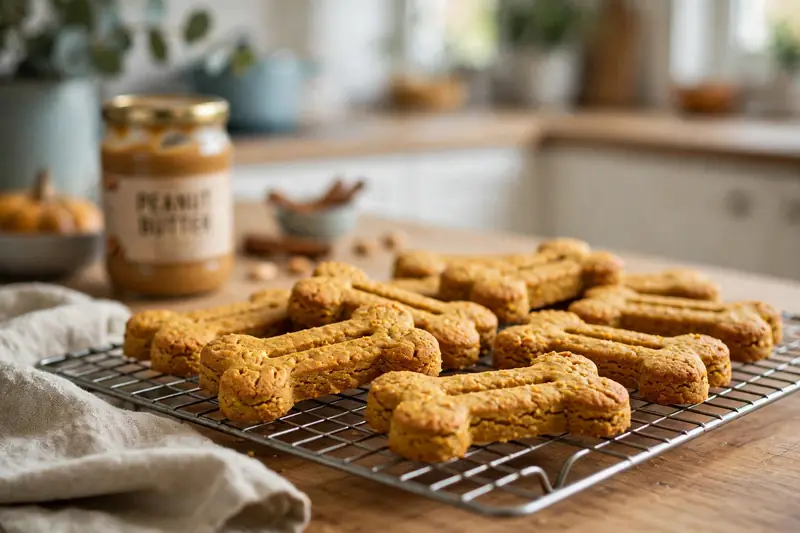
The peanut butter label is the safety checkpoint of this recipe. Xylitol appears in some peanut butter brands, sometimes renamed “birch sugar,” and it is lethally toxic to dogs. Read the ingredient list on the jar before it goes in the bowl. Natural peanut butter with peanuts and salt as the only ingredients is the safe pick, and the peanut butter safety guide lists which label terms to watch for.
Roll the dough to a quarter inch, cut with a bone cutter or a glass rim, and space the pieces an inch apart. They brown lightly at the edges when done. Cool them fully on a rack before they go in the jar; warm biscuits steam, and steam makes them soggy by morning. These keep their crunch for days at room temperature in a sealed container.
Recipe 3: no-bake pumpkin oat balls
Half a cup of pumpkin, a third of a cup of xylitol-free peanut butter, and enough rolled oats to bind make about 20 soft treats with 15 minutes of work and 30 minutes in the fridge. No oven, no rolling, no cutters. This is the recipe for summer afternoons, small kitchens, and owners who do not bake.
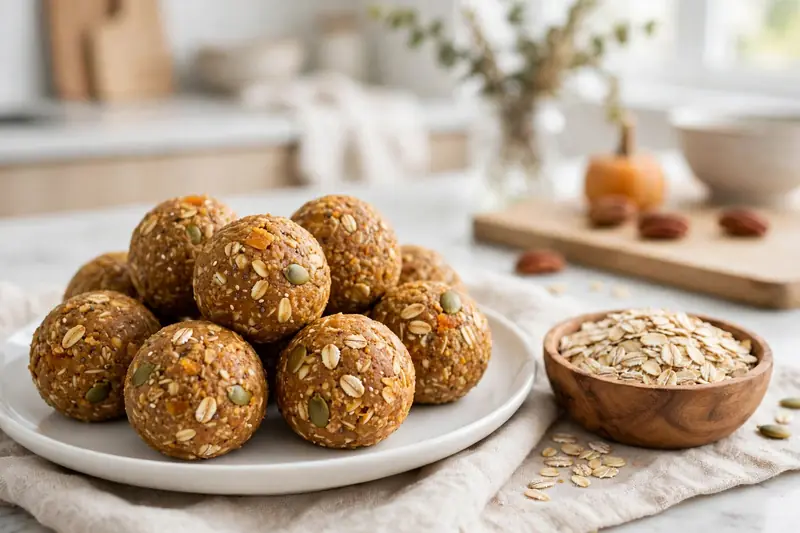
Mix the pumpkin and peanut butter smooth, then stir in oats until the mixture holds together when squeezed. Two to three cups of oats usually does it, added gradually. Roll into walnut-size balls with damp hands, set them on a parchment-lined plate, and chill for at least 30 minutes. The oats hydrate and firm up in the cold; warm balls fall apart.
Soft treats suit a different dog than crunchy biscuits do. Puppies, seniors with worn teeth, and dogs that inhale hard biscuits all do better with something that yields. The trade-off is shelf life: without baking, these live in the fridge and last about a week. Roll them in a little extra oat flour before chilling if the surface feels tacky.
Recipe 4: frozen pumpkin yogurt pupsicles
Half a cup of pumpkin, one cup of plain unsweetened Greek yogurt, and two tablespoons of xylitol-free peanut butter, frozen at least four hours, make about 16 cooling treats. Pour the blended mixture into a silicone mold or an ice cube tray, freeze solid, and pop one out at a time. This is the hot-weather recipe and the teething-puppy recipe in one.

The yogurt must be plain and unsweetened, with no xylitol and no artificial sweeteners of any kind. Greek yogurt adds protein and a creamy texture that freezes well; regular plain yogurt works but makes icier cubes. A thin drizzle of the mixture works as a Kong stuffer too: fill, freeze overnight, and the dog gets twenty minutes of work from one cube.
Frozen treats double as slow feeders. A dog that swallows biscuits whole has to lick a pupsicle, which stretches one treat into several minutes of calm activity. Keep them to the same calorie budget as baked treats; cold does not make calories disappear.
Crunchy or soft: controlling the texture
Bake time and thickness decide the texture, not the recipe. Thinner dough and longer baking make crunch; thicker dough and shorter baking make chew. A quarter-inch thickness at the stated times gives a firm biscuit with a slight give. Roll to an eighth of an inch and add five minutes for a true snap. Roll to half an inch and pull five minutes early for a soft center.

The oven-off trick is the most reliable crunch method. After the bake time ends, switch the oven off, crack the door, and leave the tray inside for an hour. Slow residual drying hardens the biscuit without burning it. Skip this step for soft treats; they go from chewy to rock-hard in a cooling oven.
Watch the bottoms, not the tops. Biscuit tops stay pale while bottoms brown, so lift one and check. A golden bottom means done. A dark brown bottom means the tray was too low or the oven runs hot; move up a rack next time. Every oven lies a little about its temperature.
How many treats your dog actually gets
Treats stay under 10 percent of daily calories, which means a 20-calorie biscuit budget of two or three a day for a medium dog. The VCA’s feeding guidelines set the 10-percent cap for all treats combined, homemade included. PetMD’s healthy treats guide repeats the same cap. A 30-pound dog eating about 700 calories a day gets roughly 70 treat calories: three biscuits, or two biscuits and a pupsicle.
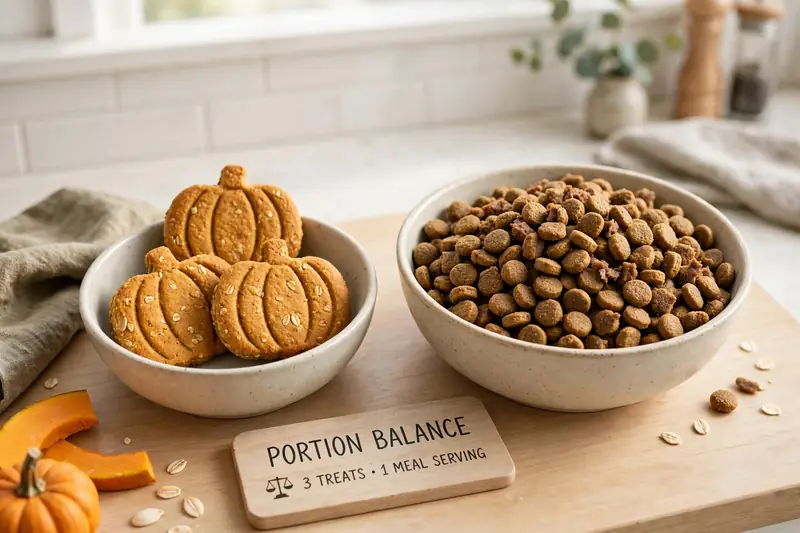
Training days need the small-batch math. Ten tiny training rewards should total fewer calories than two full biscuits, so break biscuits into pea-size pieces for sessions. The dogs do not grade the size; they count the deliveries. One full biscuit split into eight training pieces trains eight behaviors for the price of one.
Puppies and small dogs get the same rule with smaller numbers. A 10-pound dog’s whole treat budget might be 30 calories: one biscuit, or half a pupsicle. When in doubt, feed fewer and watch the waistline over weeks, not days. Treats are supposed to be the smallest part of the diet, not the most exciting.
Storing homemade treats without preservatives
Refrigerate soft and no-bake treats and use them within a week; baked biscuits keep several days at room temperature in a sealed jar, and everything freezes well for months. Homemade treats contain no preservatives, so they spoil like fresh food, not like store-bought biscuits. The smell test is the honest one: sour, off, or fermented means the batch is done.
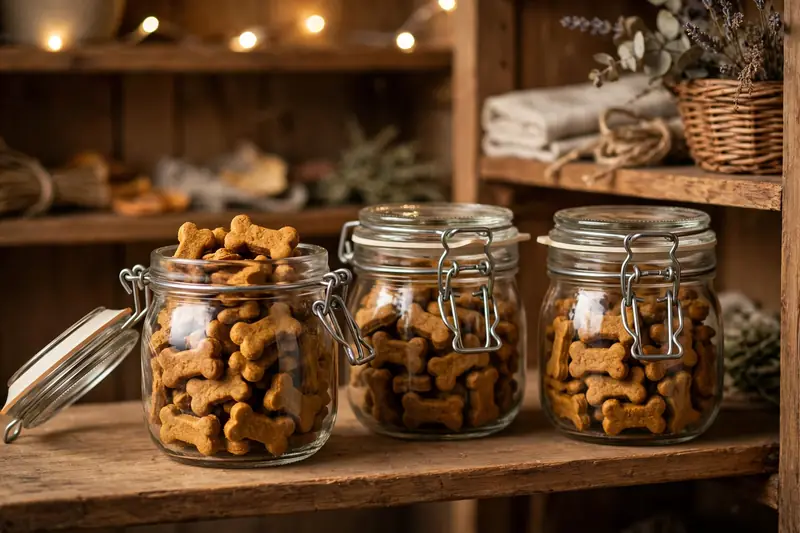
Cool baked biscuits completely before jarring. Warm biscuits release steam, the steam condenses, and the jar becomes a soggy mess by morning. A paper towel tucked in the jar absorbs stray moisture for the first day. For the freezer, spread treats in a single layer on a tray, freeze solid, then bag them; they will not clump, and you can thaw one or two at a time.
No-bake balls and pupsicles never leave the cold chain. Balls live in the fridge in a sealed container. Pupsicles live in the freezer in a zip bag with the air pressed out. Label every container with the date; frozen treats all look identical after a month, and memory is unreliable.
Ingredients that must stay out of the bowl
Xylitol, nutmeg, chocolate chips, raisins, and macadamia nuts have no place in any dog treat recipe, however small the amount. Xylitol hides in some peanut butters and sugar-free products under its own name or as birch sugar. Nutmeg hides in pumpkin spice blends and causes neurological symptoms. Chocolate chips and raisins are obvious, but they appear in “oatmeal” style recipes borrowed from human baking.
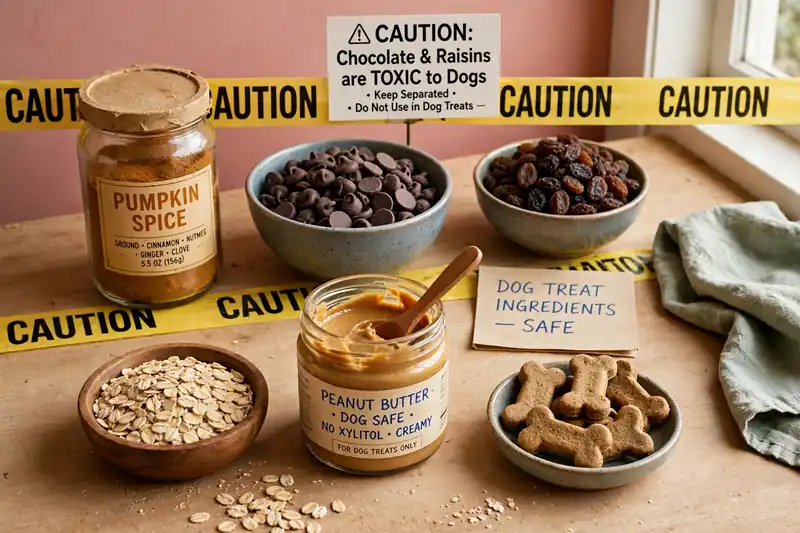
Cinnamon gets a cautious pass. Small amounts of plain cinnamon are considered dog-safe by veterinary sources, and a pinch in a full batch of dough is fine. Pumpkin pie spice is not, because it is mostly nutmeg and clove with cinnamon as the junior partner. Use plain cinnamon or nothing. The cinnamon guide draws the line precisely.
Honey and molasses need the same scrutiny as sugar. A teaspoon of honey in a batch is harmless; a quarter cup makes the treats candy. Dogs do not need sweetened treats, and sweet doughs stick to teeth. Salt is unnecessary entirely; the peanut butter and egg supply all the flavor the dog cares about.
Frequently asked questions about homemade pumpkin dog treats
Bakers usually ask about flour swaps, egg-free batches, and how long each recipe keeps. The answers below cover the practical questions that come up mid-recipe.

Can I use oat flour instead of wheat flour?
Yes. Oat flour behaves nearly identically in these doughs and suits dogs with wheat sensitivity. Blend rolled oats into flour in a blender; it takes about a minute. Use the same measurements. Rice flour and coconut flour do not swap one-to-one; coconut flour absorbs far more liquid and needs recipe adjustments.
Can I make these without eggs?
A flax egg (one tablespoon ground flaxseed mixed with three tablespoons water, rested five minutes) binds acceptably in the baked recipes. The texture runs slightly denser. For the no-bake balls, mashed banana replaces the egg’s binding role, though it adds sugar, so keep the amount small.
How long do homemade pumpkin treats last?
Baked biscuits: several days sealed at room temperature, about a week refrigerated. No-bake balls: about a week refrigerated. Pupsicles: months frozen. Everything here beats those numbers in the freezer. When a treat smells sour or looks fuzzy, it is done regardless of the calendar.
Is canned pumpkin as good as fresh?
Nutritionally, yes, and it is more consistent. Fresh pumpkin varies in water content by variety and season, which changes dough texture batch to batch. Canned puree is standardized. Fresh wins on cost in autumn when pie pumpkins are cheap; canned wins the other nine months.
Can puppies eat these treats?
Puppies over eight weeks can have small amounts of the baked biscuits, broken into tiny pieces. Keep portions smaller than an adult’s and introduce one new food at a time. Skip the pupsicles for very young puppies; the cold richness can upset unsettled stomachs.
Why did my biscuits come out soft instead of crunchy?
Three usual causes: dough rolled too thick, oven pulled too early, or biscuits jarred while warm. Fix it next batch with thinner rolling and the oven-off drying trick. This batch is still perfectly good; soft biscuits suit older dogs anyway.
Four recipes, one honest ingredient rule, and a 10-percent calorie budget cover everything a home baker needs. Start with the three-ingredient biscuits; they are the fastest way to learn how pumpkin dough behaves. For bigger home-cooking projects, the dog food recipes collection covers balanced homemade meals. The dog will not care which recipe you pick. The dog will care that you keep baking.
Disclaimer: This article is for general information only and is not veterinary advice. Treats should stay under 10 percent of your dog’s daily calories. If your dog has food allergies, diabetes, or a medical condition, check new ingredients with your veterinarian first.